Common Outdoor Security Installation Errors: The 2026 Pro Guide
The sophistication of modern surveillance hardware has largely outpaced the average user’s ability to deploy it effectively. While the market is flooded with high-resolution optics and intelligent sensors, the actual efficacy of these tools is dictated by the environment in which they are placed. An outdoor setting is an inherently hostile theater for electronics; it presents a chaotic mix of fluctuating light, shifting thermal currents, and the relentless degradation caused by moisture and ultraviolet radiation. Common Outdoor Security Installation Errors. Consequently, the gap between a system’s theoretical capability and its real-world performance is usually bridged by the quality of the installation.
For the property owner or facility manager, the failure of a security perimeter rarely stems from a defect in the silicon or software. Instead, it is usually the result of a fundamental misunderstanding of how hardware interacts with physical space. A camera that looks impressive on a spec sheet becomes a liability when it is blinded by the rising sun or placed at an angle that prioritizes sky coverage over actionable facial detail. These oversights do not merely reduce the quality of the data collected; they create “blind spots” that offer a false sense of immunity, which is often more dangerous than having no security at all.
Topical authority in this domain requires a shift from viewing security as a collection of devices to viewing it as a managed ecosystem. This demands a rigorous analytical approach to the geometry of sightlines, the physics of radio frequencies, and the long-term mechanics of structural mounting. By dissecting the recurring technical failures that plague residential and commercial perimeters, one can move toward a “Hardened Architecture” that stands resilient against both environmental entropy and adversarial intent.
Understanding “common outdoor security installation errors”
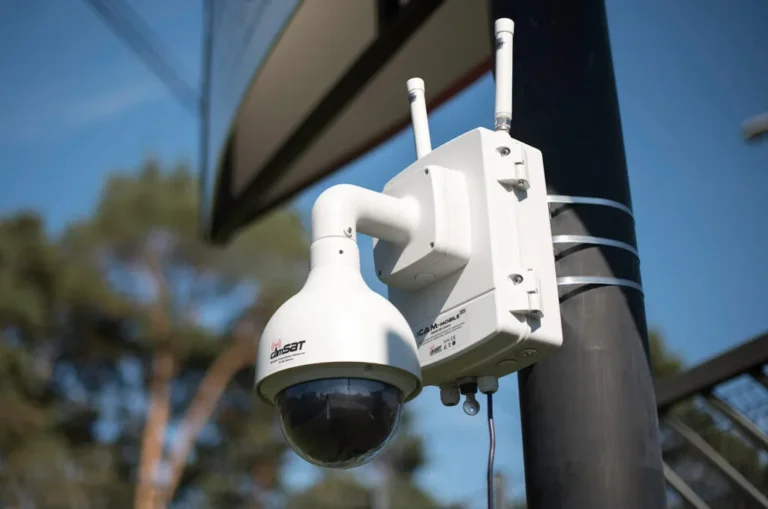
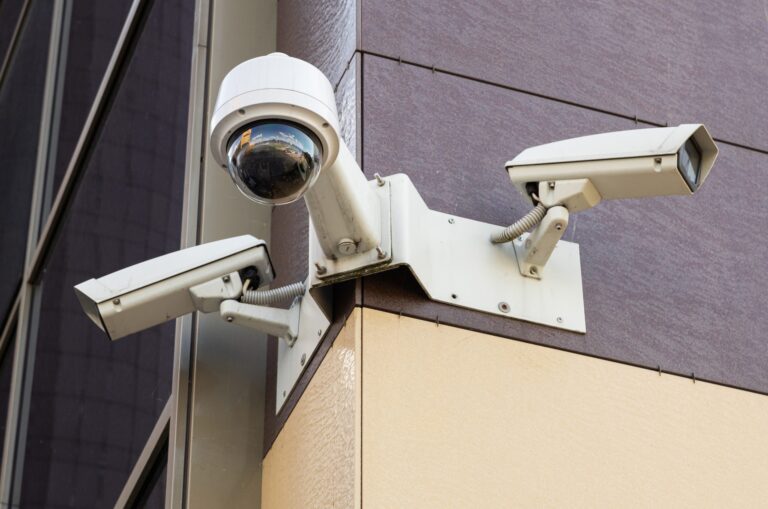
To comprehend the full scope of common outdoor security installation errors, one must look beyond the immediate hardware failure. From a multi-perspective standpoint, these errors are rarely isolated events; they are the byproduct of a “Convenience-First” installation culture. The most pervasive misunderstanding is the belief that high-resolution optics can compensate for poor placement. Installers often place cameras as high as possible to gain a wide field of view, neglecting the fact that a camera 20 feet in the air captures the tops of heads rather than identifiable facial features. This is a “Geometric Error”—a failure to align the sensor with the likely path of the subject.
Another significant misunderstanding involves the “Digital Hubris” of modern smart systems. Many assume that because a camera is “wireless,” it is untethered. In reality, the most frequent common outdoor security installation errors involve the neglect of the “Signal Environment.” Placing a wireless camera on the far side of a brick wall or near a high-voltage transformer introduces “Packet Loss” and latency that renders the most intelligent AI detection algorithms useless. The system might show a clear picture when the yard is empty, but it stutters and fails exactly when high-motion activity—like an intruder running—occurs.
Oversimplification risks also manifest in the “Set-and-Forget” mentality. Outdoor security is a dynamic installation. Trees grow, blocking sightlines; spiders build webs across infrared illuminators, causing “IR Washout”; and seasonal sun angles change, introducing glare that was not present during a mid-winter installation. A failure to account for the “Physical Lifecycle” of the installation point is a foundational error that ensures the system will degrade into a non-functional state within its first year of operation.
Deep Contextual Background: The Evolution of the Perimeter
Historically, outdoor security was an exercise in “Hardened Physicality.” Barriers were designed to be seen and felt—massive walls, iron gates, and visible watchtowers. The primary installation errors of the 19th and early 20th centuries were structural: poor masonry, weak hinges, or inadequate lighting. Detection was a human-centric task, reliant on a guard’s ability to see and hear.
The introduction of the closed-circuit television (CCTV) in the 1940s and its subsequent commercialization in the 1970s shifted the focus to “Forensic Record-Keeping.” This era introduced a new taxonomy of errors, primarily related to magnetic tape management and analog signal degradation over long coaxial runs. If a cable wasn’t properly shielded, electromagnetic interference (EMI) would render the grainy black-and-white footage illegible.
By 2026, we have moved into the “Cognitive Surveillance” era. Today’s errors are more subtle and digital. We deal with “Sensor Saturation,” where too much data—shadows, rain, or insects—triggers thousands of false alerts, causing the user to eventually disable the system entirely. The evolution of the perimeter has gone from “Stopping the Intruder” to “Identifying the Intruder” and finally to “Predicting the Intruder.” As the goal becomes more ambitious, the tolerance for installation errors becomes smaller.
Conceptual Frameworks and Mental Models
Navigating the complexities of an outdoor installation requires mental models that prioritize logic over aesthetics.
The “ID vs. Detection” Framework
An installer must decide the purpose of every sensor.
-
Detection: Covers a wide area to see if “something” is there.
-
Identification: Covers a narrow “Choke Point” to see “who” is there.
-
The Error: Trying to do both with one camera, resulting in a wide shot that lacks the pixel density for ID.
The “Illumination Path” Model
Light does not just “exist”; it travels and reflects.
-
Application: A camera’s infrared (IR) light will reflect off a nearby wall or leaf, causing the foreground to be bright white and the background (the target area) to be pitch black.
-
The Error: Placing cameras too close to overhanging eaves or vertical surfaces.
The “Signal-to-Noise” Ratio (SNR) for Motion
This model applies to AI-driven systems. If a camera sees 90% “noise” (blowing grass, shadows) and 10% “signal” (the intruder), the AI will struggle.
-
The Error: Aiming cameras at complex textures like trees or moving water rather than “Clean Baselines” like driveways or walls.
Key Categories of Installation Failure
Effective management of a perimeter requires a taxonomy of errors to avoid during the planning phase.
| Category | Primary Error | Long-term Consequence | Resolution Strategy |
| Optics & Geometry | Steep mounting angles. | “Hat-top” footage; no ID. | Mount at 7–9 feet; eye-level focus. |
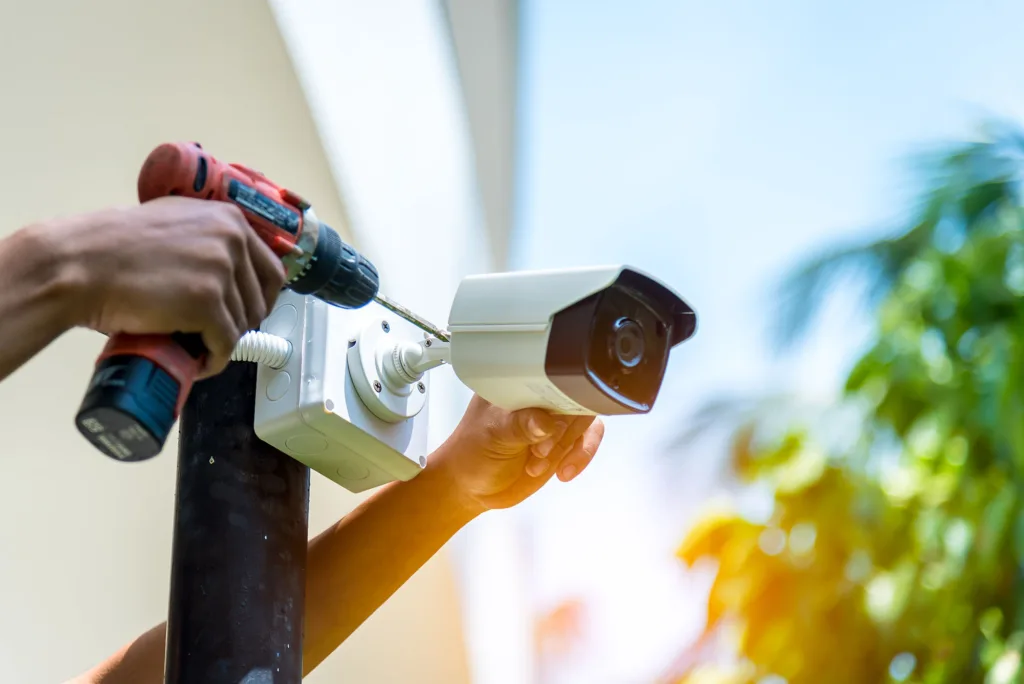
| Power Management | Unprotected cabling. | Vulnerability to “Wire Snips.” | Use conduit or PoE through walls. |
| Signal Integrity | Over-reliance on Wi-Fi. | Dropout during critical events. | Prioritize wired “Backhaul.” |
| Lighting | IR Reflection/Glint. | Blinding white-out at night. | External IR illuminators. |
| Structural | Plastic-on-wood mounts. | Vibration/Wind-shake alerts. | Use metal brackets/solid substrates. |
| Environmental | Lack of “Drip Loops.” | Water ingress into the camera. | Curve the cable downward before entry. |
Decision Logic: The Hardware-to-Environment Fit
The most frequent mistake is buying “The Best Camera” and putting it in “The Worst Place.” A $1,000 thermal camera is wasted on a small urban porch, while a $50 doorbell camera is useless for a 100-foot driveway. Installation logic should follow the “Square Footage Rule”: the cost and capability of the sensor must be proportional to the depth of the field it is intended to guard.
Detailed Real-World Scenarios Common Outdoor Security Installation Errors
Scenario 1: The “Gutter-Mount” Blindness
A homeowner mounts a floodlight camera on the gutter to overlook the street.
-
The Error: During a heavy storm, the vibrations from the water and wind trigger the motion sensor constantly. Furthermore, the height prevents the camera from seeing faces under hoodie brims.
-
Second-Order Effect: The owner becomes so frustrated with false alerts that they snooze the app for 12 hours, during which a real break-in occurs.
Scenario 2: The “Brick Wall” Signal Sink
A business installs four wireless cameras around a warehouse.
-
The Error: The hub is in the center of the office, and the signal must pass through three brick walls and a metal server rack.
-
The Failure: The cameras show “Good” signal in the app, but the frame rate drops to 1 FPS (frame per second) during a breach, making the footage look like a series of still, blurry images.
Scenario 3: The “Backlit” Entrance
A camera is aimed directly at a glass door that faces West.
-
The Error: At 5:00 PM, the sun shines directly into the lens. The camera’s auto-iris closes to protect the sensor, turning the person entering the door into a black silhouette.
-
The Fix: Mounting the camera at a 45-degree angle to the door rather than head-on to avoid direct solar glare.
Planning, Cost, and Resource Dynamics
The “Real” cost of outdoor security is often hidden in the “Labor and Longevity” phase rather than the “Purchase” phase.
Resource Allocation for Professional-Grade Installation
| Resource | Direct Cost (Units) | Opportunity Cost | Variability |
| Conduit/Piping | $2–$5 / ft | Prevents “Vandalism Snips.” | High (Depends on terrain). |
| PoE Switches | $100–$500 | Eliminates battery anxiety. | Low (Fixed scale). |
| External IR | $40 / unit | Increases night clarity by 300%. | Moderate (Depends on yard size). |
| Weather-Proofing | $15 (Sealant/Tape) | Prevents corrosion failure. | Negligible. |
The most common “Budget Error” is underfunding the “Connectivity” layer. People spend 90% of their budget on cameras and 10% on the cables or the router. In a resilient installation, the budget should be split 50/50 between the “Sensors” and the “Infrastructure” that supports them.
Tools, Strategies, and Support Systems
-
Drip Loops: A simple technique where the wire dips down below the entry hole before going in, preventing gravity from pulling rainwater into your electronics.
-
External IR Illuminators: Using a light source 10 feet away from the camera to prevent “Lens Flare” and “Bug Swarming” at the camera lens.
-
Shielded Twisted Pair (STP): Using shielded cables to prevent the cameras from acting as “antennas” during lightning storms, which can fry the NVR.
-
Security Screws (Torx/One-Way): Preventing an intruder from simply unscrewing the camera mount and taking the camera with them.
-
Signal Repeater Hierarchy: Ensuring that wireless bridges have a “Line of Sight” (LoS) to the next node to avoid the “Brick Wall” problem.
-
Silicon Sealant: Applying a bead of sealant around the mounting plate to prevent spiders and ants from nesting inside the warm housing.
-
Height-Mapping: Using a ladder to view the yard from the camera’s perspective before drilling, specifically checking for hoodie-brim clearance.
Risk Landscape and Compounding Failures
Installation errors often create “Compounding Risks.” For example:
-
The “Shared Power” Risk: Plugging cameras into an outdoor outlet that is on the same circuit as a high-load appliance (like an AC unit). When the AC kicks on, the voltage drop can cause the cameras to reboot, creating a 60-second “Security Gap.”
-
The “Vandalism-Loop”: Installing a camera within reach of a person standing on the ground. If the intruder can touch the camera, they can tilt it, spray it, or rip it down.
-
The “Reflective” Risk: Aiming a camera through a glass window from the inside. At night, the IR light will reflect off the glass, making the camera effectively blind.
Governance, Maintenance, and Long-Term Adaptation
A successful installation requires an “Operational Lifecycle.”
The “Post-Installation” Review Cycle
-
Day 1: Check for Day/Night transition. Does the IR wash out the image?
-
Day 30: “Lens Wipe.” Check for spider webs or dust accumulation.
-
Season 1: “Vegetation Audit.” Have the summer leaves blocked the “Choke Point” view?
-
Year 1: “Sealant Check.” Is the caulking cracking? Is there condensation inside the lens?
Governance also involves the “Access Policy.” Who has the password to the NVR? Are the cameras on a separate VLAN to prevent a compromised IoT device from exposing the video feed?
Measurement, Tracking, and Evaluation
How do you measure the success of an installation?
-
The “Identification Rate”: In a test run, can you recognize a family member’s face from the footage at 10 PM? If not, the installation has failed.
-
False Positive Ratio: If your system alerts you more than twice a night for non-human activity, the “Signal-to-Noise” ratio is too low.
-
Uptime Persistence: Tracking how often the cameras “Drop” from the network. A healthy system should have 99.9% signal persistence.
Documentation Examples:
-
The Sightline Map: A top-down drawing showing exactly where each camera’s “Field of View” begins and ends.
-
The Cable Log: A record of which cable goes to which port, essential for troubleshooting a “Dead Feed” three years later.
Common Misconceptions and Oversimplifications
-
“Wireless cameras are easier to install.” Physically, yes. Logistically, no. Managing signal interference and battery cycles is often harder than running one cable.
-
“Higher is safer.” High cameras are safe from thieves, but they are useless for identification.
-
“Digital zoom is as good as optical zoom.” Digital zoom just makes the pixels bigger and blurrier. It cannot “enhance” a face that wasn’t clear to begin with.
-
“I can see everything on my phone, so it’s working.” Being able to see a live stream doesn’t mean the system is recording or that the motion alerts are triggering correctly.
-
“Night vision works through windows.” IR light reflects off glass. This is one of the most common outdoor security installation errors in residential settings.
-
“Motion lights replace cameras.” Motion lights help, but they can actually “blind” a camera if they are aimed incorrectly, creating a white-out effect.
Ethical and Practical Considerations
An installation must balance “Security” with “Neighborly Privacy.” Aiming a high-def camera into a neighbor’s bedroom window or backyard can lead to legal “Invasion of Privacy” claims. Most modern cameras allow for “Privacy Masking”—a software feature that blacks out specific areas of the frame.
Practically, one must also consider the “Serviceability” of the mount. If you install a camera 25 feet up a pole, how will you clean the lens or change the SD card? Every installation point should be accessible via a standard 8-foot or 12-foot ladder, or it will eventually be neglected.
Conclusion
The integrity of an outdoor security perimeter is a product of “Deliberate Geometry.” By avoiding the common outdoor security installation errors that prioritize ease over efficacy, a property owner can ensure their investment provides actual protection rather than just a library of useless footage. Security is not a state that is purchased; it is a discipline that is installed. It requires the patience to test angles at midnight, the foresight to protect cables from the elements, and the intellectual honesty to admit when a camera’s view is more “aesthetic” than “actionable.” In the end, the most effective security system is the one that was installed with the expectation of being tested.